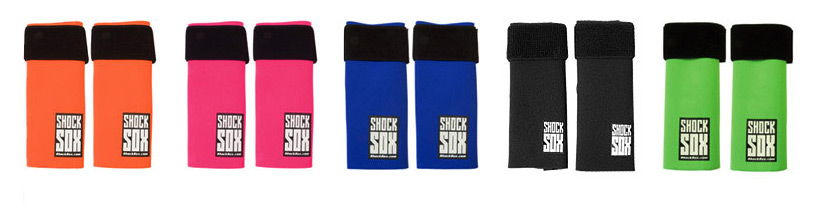
Installation: 6" Shock Sox - 3 Velcro tabs
 When installing the 6 inch Shock Sox... When installing the 6 inch Shock Sox...
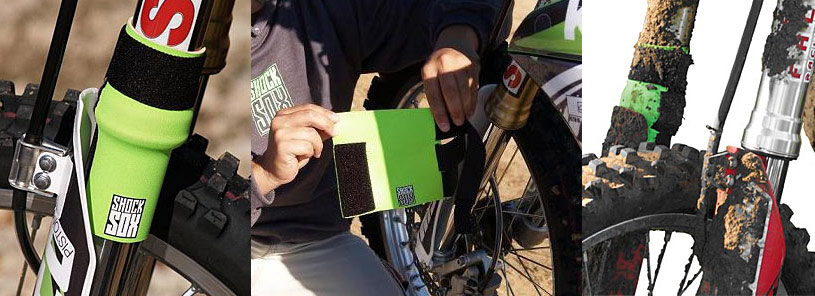
First - we recommend securing the middle strap, this keeps the Shock Sox from walking on you. Secure the middle strap around the bottom of the upper fork tube at the dust seal area.
Securely wrap the middle tab overlapping the receiving side of the Shock Sox.
Second - wrap the circumferential (upper) strap just above, and overlap the receiving side of the Shock Sox....making sure there is not an exposed seam between the upper and middle straps.
Third - wrap the bottom strap tightly just under the seal on the lower fork tube.
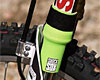
The Shock Sox logo should be facing outward. However, in the event that the logo is facing outward and the
side-wall of your tire knobby's are rubbing-tearing into the Velcro tabs, simply rotate the Shock Sox, so that the Velcro tabs are not facing inside and are not aligning with the knobby side-walls of your tire.
Properly installed, the Shock Sox should cover all metal, and you should not see a seam of metal fork tubing underneath.
Cleaning:
We recommend removing the Shock Sox after each day of riding. Do not leave the Shock Sox on while washing your motorcycle. Remove the
Shock Sox and hand-wash with a garden hose, or in a sink with warm soapy water. Lay the Shock Sox flat, and let dry. Once dry, install Shock Sox back on your forks. The beauty of Shock Sox is that they are removable
for easy cleaning and great fork seal protection. Don't be lazy...leaving the Shock Sox on during cleaning will trap moisture and grit, potentially causing fork seal leakage!
Technical Quick Fixes:
Holeshot Device
What if I have a Holeshot Device? No problem, simply install the Shock Sox on the fork like normal, then use a utility knife-razor blade to score through the Shock Sox where the Holeshot Device catch is.
Lower fork guard rubbing the Shock Sox:
Some lower fork guards tend to "lean in" toward the forks a little too much, leaving no room between the fork guards and Shock Sox (minute rubbing is OK). In the event that there is no room between the lower
fork guards and Shock Sox, we recommend either adding a washer to the lower fork guard bolts (this will cause some separation up top) or, using a heat gun and pulling the lower fork guards outward a little.
Fork Guard Ring
Some bike models come with either a metal, or plastic fork guard guide ring at the bottom of the upper fork tube. The metal ring can, and usually cuts into the Shock Sox creating a tear seam. The plastic rings
are usually bulky, and usually do not allow for Shock Sox full-diameter covering. We recommend removing these rings to ensure the best fork seal protection, before installing your Shock Sox.
|
KTMs
The 2008-15 KTM model big bikes have a black plastic fork guard guide ring. You will need to REMOVE the guide ring before installing your Shock Sox. Choosing to install your Shock Sox on top of the ring will
create a tear seam from rubbing.
The 2008-15 KTM model big bikes, as well as the 2007 250 SX, have the wrap-around designed lower fork guard protector. These are a slight hassle, as the wrap-around design makes it difficult to even remove the
dust-seal for periodic maintenance, and leaves the Shock Sox installation a little more challenging. As most customers agree......we recommend replacing the stock 2008-15 lower fork guards with the 2007
450SX fork guards, or the 2006 model fork guard protectors.
Yamaha
Some Yamaha models come with a plastic fork guard guide ring that will not allow for Shock Sox installation. We recommend removing the ring to ensure the best fork seal protection, before installing your Shock Sox.
Kawasaki
Some Kawasaki models come with a plastic fork guard guide ring that will not allow for Shock Sox installation. We recommend removing the ring to ensure the best fork seal protection, before installing your Shock Sox.
These are Quick Fixes that both Shock Sox, Shock Sox Dealers, and Customers have encountered and tested. These are only recommendations to give you much better fork seal protection when choosing the Shock Sox
brand for Hassle-Free Fork Seal Protection! |